github pages + jekyll-theme-chirpy 搭建个人网站和博客
github pages + jekyll-theme-chirpy 搭建个人网站和博客
1 环境和工具
环境:Windows 10 及其以上
工具:VS Code, Docker Desktop, Git
2 使用启动器
具体步骤如下:
- 进入 starter
- 点击
Use this template,然后选择Create a new repository - 为这个仓库命名为
<username>.github.io,使用 GitHub 用户名的小写替换掉 username
当我们将上述操作完成后,可以开始配置一些基础配置,编辑 config.yml,修改重要参数,例如:timezone, title, url, avatar, social.name 等
完成后,我们可以在
Actions中看到工作流(workflow)的运行情况
3 启动环境
我们需要将 GitHub 上的仓库拉取到本地,然后执行以下操作:
- 在 Windows 系统中,安装 Docker Desktop
- 在 VS Code 中安装好 Dev Containers 扩展
- 打开本地项目,
Ctrl + Shift + P调出本地面板,键入Dev Containers: Reopen Folder Locally命令进入容器中的项目
一般而言,刚打开的项目会有两个分支,分别是:
- main(本地的 main 分支)
- origin/main(远程的 main 分支)
在本地运行测试
1
bundle exec jekyll s
4 添加笔记
如果我们想要添加笔记,直接在 _posts 文件夹中添加 md 文件,命令格式为: YYYY-MM-DD-note-name,示例内容模板如下:
1
2
3
4
5
6
7
8
---
title: 'github pages + jekyll-theme-chirpy 搭建个人网站和博客'
date: 2024-09-30 01:16:53 +0800
categories: [Practical skills]
tags: [Practical skills]
---
# github pages + jekyll-theme-chirpy 搭建个人网站和博客
这是我的第一篇笔记
之后通过 git 工具,将文件上传到远程仓库即可
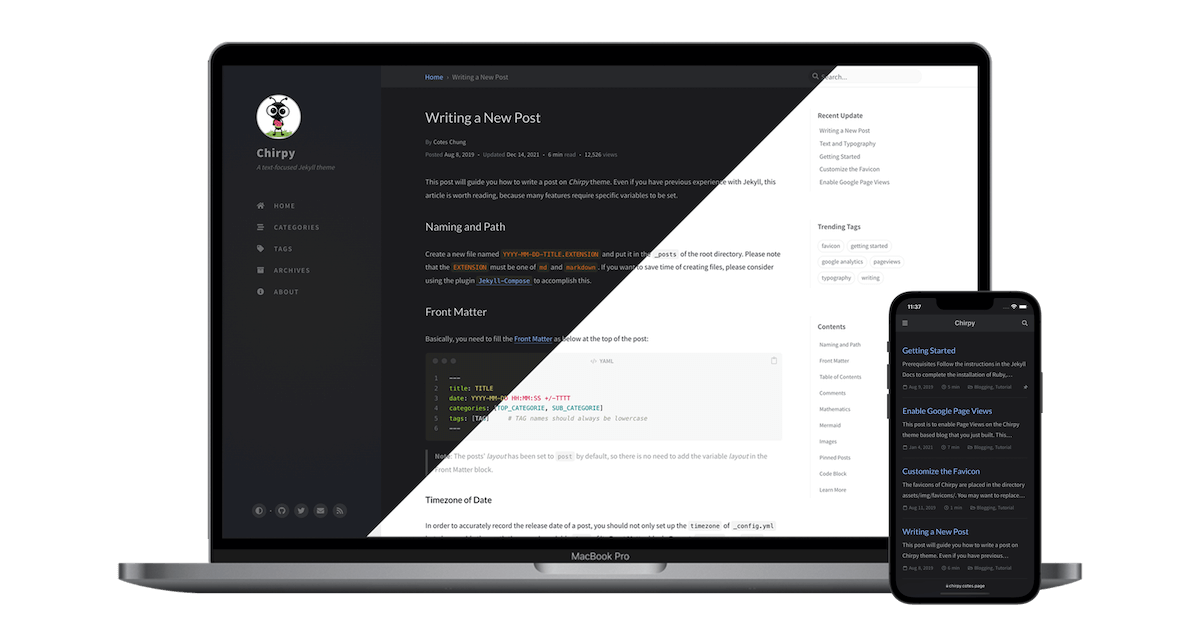
基于 Chirpy 编写文章,我们可以参考官方文档: https://chirpy.cotes.page/posts/write-a-new-post/
This post is licensed under CC BY 4.0 by the author.